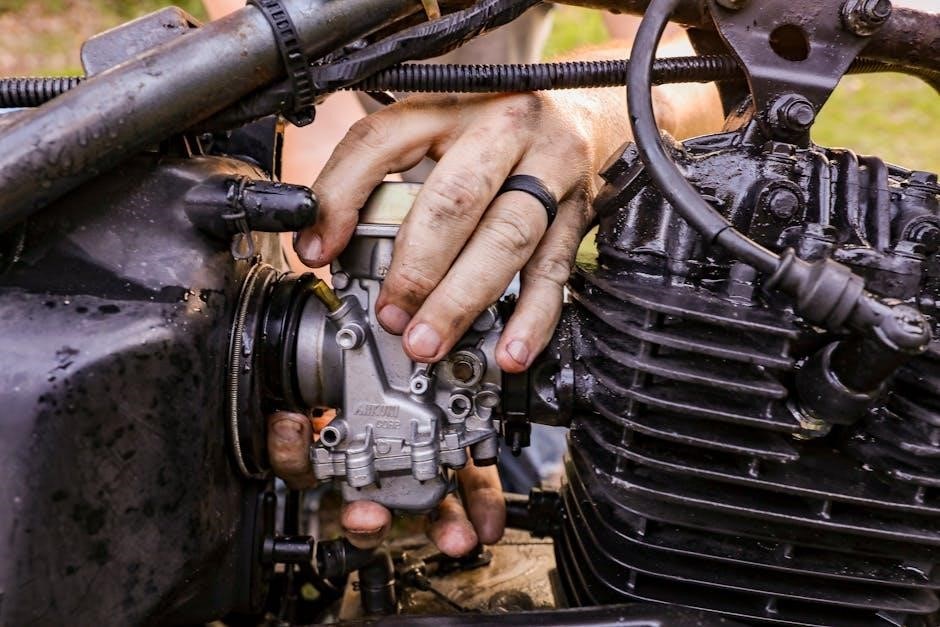
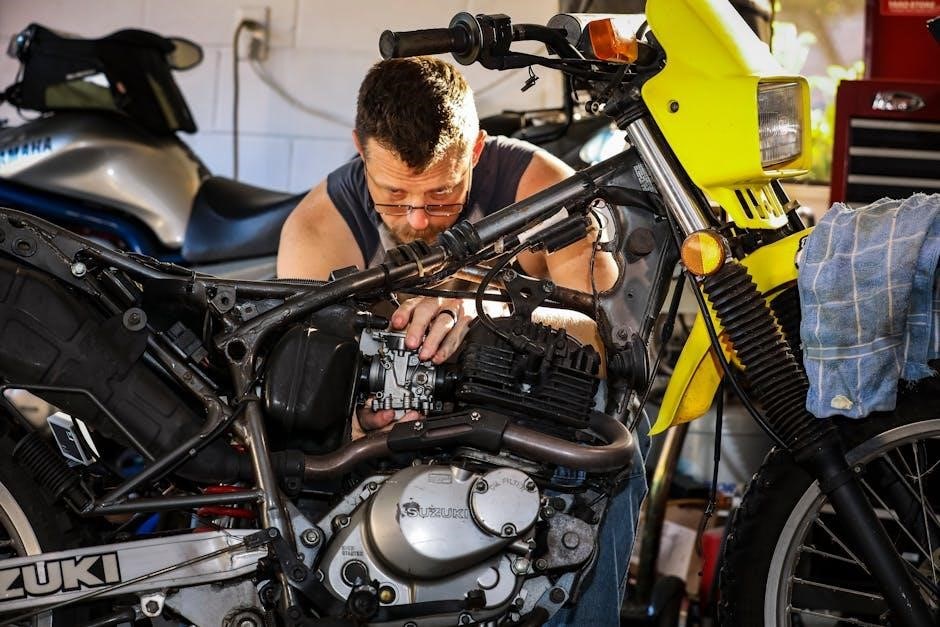
The PWK carburetor is a high-performance, flat-slide design optimized for two-stroke engines, widely used in motorcycles and ATVs. Its Power Jet system enhances throttle response and power delivery significantly.
1.1 What is a PWK Carburetor?
The PWK carburetor is a flat-slide, high-performance carburetion system designed primarily for two-stroke engines, offering precise fuel delivery and enhanced throttle response. Known for its Power Jet system, it provides additional fuel flow at high RPM, improving power delivery across the entire throttle range. The PWK features a lightweight aluminum construction with a CNC-milled intake channel and a socket flange for easy installation. Its design allows for easy tuning, with adjustable jets, needles, and an air screw to optimize performance for specific engine conditions. Widely used in motorcycles, ATVs, and industrial engines, the PWK is favored for its reliability and adaptability. A detailed manual is essential for proper installation, tuning, and maintenance to ensure optimal functionality and longevity of the carburetor.
1.2 History and Development of PWK Carburetors
The Keihin PWK carburetor was first introduced in the late 1980s as part of Keihin’s lineup of high-performance carburetors for two-stroke engines. Designed initially for off-road motorcycles, the PWK quickly gained popularity due to its flat-slide design and innovative features like the Power Jet system. This system provides an additional fuel flow at high RPM, enhancing power delivery and throttle response. Over the years, the PWK has undergone improvements, with variations like the PWK 26, 30, and 34, catering to different engine sizes and applications. Its reputation as a reliable and tunable carburetor has made it a favorite among racers and enthusiasts. Today, the PWK remains a benchmark for two-stroke carburetion, with manuals and guides widely available to support its installation, tuning, and maintenance.

Installation Guide for PWK Carburetors
Installing a PWK carburetor requires careful preparation, ensuring proper alignment with the engine and intake manifold. Always follow the manufacturer’s manual for specific instructions and jetting recommendations.
2.1 Preparing the Engine for PWK Carburetor Installation
Before installing the PWK carburetor, ensure the engine is clean and free of debris. Inspect the intake manifold for any blockages or damage. Check the fuel system, ensuring proper fuel pressure and functioning fuel taps. If the engine has been modified, consult the manual for specific requirements. Verify that all necessary gaskets and seals are in good condition to prevent leaks. For engines like the Honda GX200, ensure the intake flange matches the carburetor’s mounting setup. Finally, review the installation manual for specific recommendations and gather all necessary tools and components before starting the process.
2.2 Step-by-Step Installation Procedure
Mount the PWK carburetor by aligning it with the intake manifold, ensuring a secure seal. Tighten the mounting bolts gradually to avoid warping the flange. Connect the throttle cable to the carburetor’s throttle valve, adjusting for smooth operation. Attach the air intake and fuel line, ensuring no leaks or kinks. For engines like the Honda GX200, verify the carburetor’s orientation matches the intake setup. Finally, turn the fuel tap to the “On” position and test the engine at low throttle to check for proper function and leaks. Refer to the manual for specific torque specifications and adjustments.

Tuning and Adjustments
Tuning involves adjusting the air screw, pilot jet, and main jet to optimize the air-fuel mixture. Initial settings are crucial for smooth engine operation and performance.
3.1 Understanding Air-Fuel Mixture and Jetting
Understanding the air-fuel mixture is critical for optimal engine performance. The air-fuel ratio determines how much fuel is mixed with air for combustion. Too rich (more fuel) can cause fouling, while too lean (less fuel) may lead to engine damage. Jetting refers to the carburetor’s ability to deliver the correct fuel flow at different throttle positions. The pilot jet controls fuel flow at low RPM, while the main jet handles high RPM fuel delivery. The needle position adjusts the mixture in the mid-range. Proper jetting ensures smooth transitions, consistent power, and prevents issues like bogging or hesitation. Factors like temperature, altitude, and engine modifications can necessitate adjustments. A well-tuned carburetor balances performance, efficiency, and engine longevity.
3.2 Adjusting the Air Screw, Pilot Jet, and Main Jet
Adjusting the air screw, pilot jet, and main jet is essential for achieving the correct air-fuel mixture at different engine speeds. The air screw regulates airflow at idle and low throttle, while the pilot jet controls fuel flow in the same range. Turning the air screw clockwise leans the mixture, and counterclockwise enriches it. The main jet determines fuel delivery at high RPM. Start with the air screw adjustment by turning it until the engine runs smoothly at idle. For the pilot jet, test small increments to avoid over-richening. The main jet requires test rides to ensure proper performance at full throttle. Always use the correct tools and be methodical, as improper adjustments can lead to poor performance or engine damage. Environmental factors like temperature and altitude may also require adjustments.
Maintenance and Cleaning
Regular maintenance and cleaning of the PWK carburetor are crucial for optimal performance. Disassemble and clean all components, including jets and fuel passages, using a carburetor cleaning kit. Always check for blockages and wear. Regularly inspect and replace worn gaskets or seals to ensure proper function. Clean or replace the air filter and fuel lines as needed. Proper cleaning prevents corrosion and ensures smooth engine operation. Schedule maintenance every 50-100 hours of use or as conditions dictate.
4.1 Regular Maintenance Tasks
Regular maintenance of the PWK carburetor ensures optimal performance and longevity. Start by cleaning the air filter and fuel lines to prevent debris buildup. Inspect the carburetor for blockages in jets and fuel passages, using a carburetor cleaning kit for thorough cleaning. Check the float bowl for sediment and ensure the float level is correctly set. Replace worn gaskets or seals to maintain proper vacuum and fuel flow. Clean or replace the needle valve and pilot jet if fouled. Inspect the throttle slide and cable for smooth operation. Use a soft brush and cleaning solution to remove stubborn grime. Schedule maintenance every 50-100 hours of use or after exposure to harsh conditions. Regular servicing prevents corrosion and ensures reliable engine operation.
4.2 Cleaning the Carburetor and Its Components
Cleaning the PWK carburetor and its components is essential for maintaining performance and preventing fuel flow restrictions. Begin by disassembling the carburetor, removing the float bowl, jets, and needle valve. Soak all parts in a carburetor cleaning solution to dissolve grime and varnish. Use a soft-bristle brush to scrub away stubborn deposits, paying attention to small passages and jets. Avoid using harsh chemicals or abrasive materials that could damage components. For delicate parts, consider using an ultrasonic cleaner for a thorough cleanse. After cleaning, dry all components with compressed air to remove moisture. Reassemble the carburetor carefully, ensuring all gaskets and seals are in good condition. Regular cleaning prevents clogging and ensures proper fuel flow, keeping the engine running smoothly.

Troubleshooting Common Issues
Identify common issues like poor idle, bogging, or lean/rich conditions. Diagnose symptoms using spark plug readings, engine behavior, and carburetor adjustments to pinpoint and resolve problems effectively.
5.1 Identifying Symptoms and Diagnosing Problems
Common issues with PWK carburetors include poor idle, bogging, or lean/rich running conditions. Symptoms often manifest as hesitation, backfiring, or reduced power. Diagnose by examining spark plug color (white indicates lean; dark indicates rich) and monitoring engine behavior at different throttle positions. Check for air leaks, faulty jets, or clogged passages. Adjustments to the air screw, pilot jet, and main jet can resolve many issues. Refer to the tuning manual for guidance on interpreting symptoms and applying corrections. Regular maintenance, such as cleaning and inspecting components, helps prevent recurring problems. A systematic approach ensures accurate diagnosis and effective troubleshooting.
5.2 Repair and Adjustment Solutions
For PWK carburetor issues, start with a thorough cleaning using a carburetor cleaning solution and compressed air to remove dirt and debris. Adjust the air-fuel mixture by turning the air screw clockwise for a richer mixture or counterclockwise for a leaner mixture. Replace clogged or damaged jets with the correct size to restore proper engine performance; If the float level is incorrect, adjust it to ensure the fuel flows smoothly without overflowing. For persistent problems, consult the tuning manual for specific guidance on jetting and adjustments. Regular maintenance, such as replacing worn gaskets or seals, can prevent recurring issues. Always refer to the manufacturer’s instructions for precise repair and adjustment procedures to ensure optimal functionality.

Advanced Customization and Performance Optimization
Advanced customization for PWK carburetors involves upgrading jets, adjusting needle positions, and fine-tuning for specific riding conditions to maximize engine performance and responsiveness.
6.1 Upgrading Jets, Needles, and Other Components
Upgrading jets, needles, and other components is a popular way to enhance the performance of your PWK carburetor. Replacing the stock main jet or pilot jet with larger or smaller sizes can significantly improve air-fuel mixture accuracy. Needles can be swapped to alter the fuel delivery profile, while upgrading to high-performance emulsion tubes or air screw assemblies can refine throttle response. These modifications are often necessary for engines operating in high-altitude conditions or those with significant performance upgrades. Always refer to the PWK carburetor manual or consult an expert to ensure proper jetting and needle selection for your specific application. Incorrect upgrades can lead to poor engine performance or damage, so careful planning and testing are essential.
6.2 Fine-Tuning for Specific Engine and Riding Conditions
Fine-tuning your PWK carburetor for specific engine and riding conditions is crucial for optimal performance. Environmental factors like temperature, humidity, and altitude significantly impact the air-fuel mixture. For example, high-altitude riding may require leaner jetting, while colder climates might need richer settings. Similarly, aggressive or low-speed riding conditions may demand adjustments to the air screw and pilot jet. Spark plug readings and performance testing are essential tools for precise tuning. Always consider the engine’s modifications, such as porting or exhaust upgrades, when fine-tuning. Refer to the PWK carburetor manual for guidance, and test adjustments incrementally to avoid over-compensation. Proper tuning ensures smooth operation, maximum power delivery, and extended engine life.

